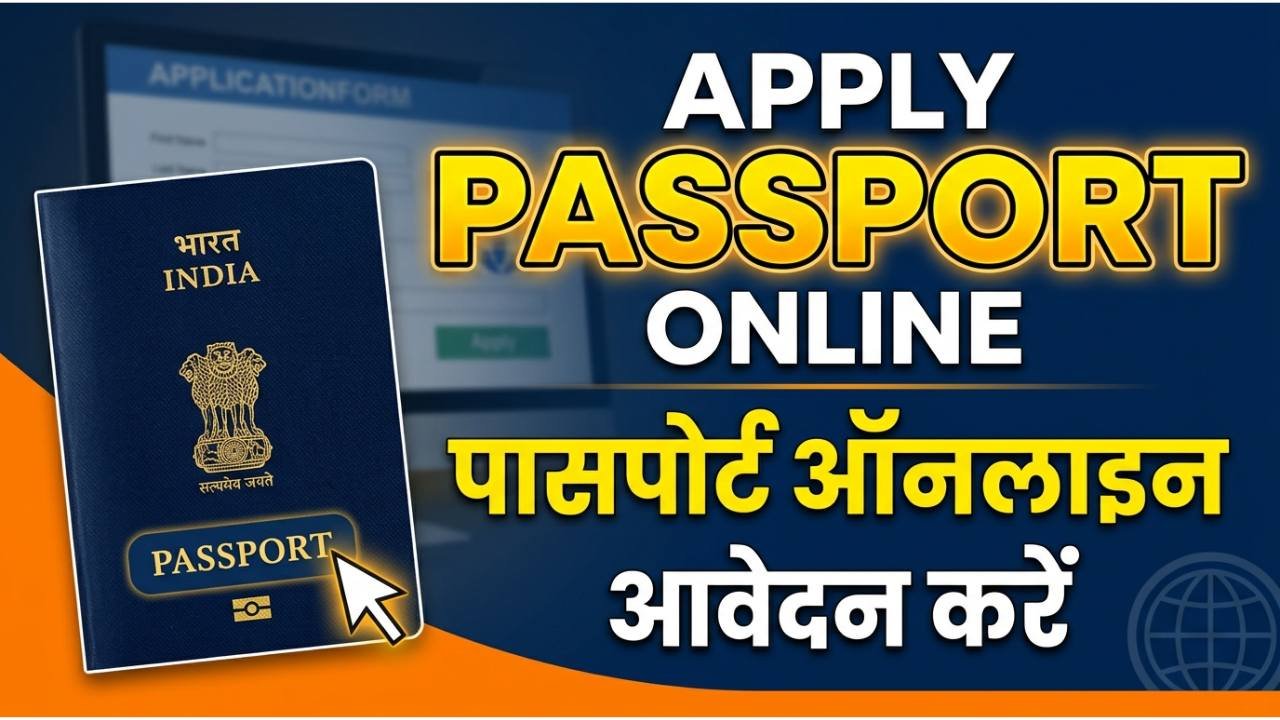
Applying for a passport online in India is straightforward when you follow the Passport Seva portal steps carefully; this guide walks you through the complete process from registration to receiving your passport. Below are concise, actionable steps, document checklists, fee details, appointment guidance, and troubleshooting tips to help you complete the process quickly and correctly.
Advertisements
Quick overview
- Who this is for: Indian citizens applying for a new passport, re-issue, or renewal.
- Where to apply: Official Passport Seva portal and its associated PSKs/POPSKs.
- Time required: Portal steps take about 20–40 minutes; PSK visit and verification add variable time depending on police verification and slot availability.
Steps to Apply for Passport Online:
Step 1: Register and create an account
- Visit the Passport Seva portal and click “Register” to create a new user account using a valid email and mobile number.
- Select your state and Passport Seva Kendra (PSK) region while registering; you can later choose a PSK for appointment scheduling.
- After registering, verify your email and log in using the chosen username and password.
Step 2: Start a new application
- After login, choose the correct service: “Apply for Fresh Passport / Re-issue of Passport” or the specific option for minors.
- Pick the passport type (36- or 60-page booklet) and whether you want normal or Tatkal service (Tatkal has limited slots and higher fees).
- Click “Continue” to open the online application form (or download the PDF to fill offline, then upload).
Step 3: Fill the application form accurately
- Enter personal details exactly as in your supporting documents: full name, date of birth, parents’ names, and current address.
- Provide travel history and previous passport details if applying for re-issue.
- Double-check spellings and dates; errors can lead to delays or rejections.
Advertisements
Step 4: Documents to upload and carry
- Commonly required documents (carry originals and self-attested photocopies):
- Proof of identity (Aadhaar, PAN, voter ID, driving licence).
- Proof of address (Aadhaar, utility bill, bank statement, rent agreement).
- Proof of date of birth (birth certificate, school leaving certificate, or Class 10 mark sheet).
- For minors: parents’ ID and address proof, and Annexures where required.
- Additional documents: marriage certificate for name change after marriage, if applicable; government employee ID for special verification rules.
Step 5: Pay fees online
- Payment is done through the portal using net banking, debit/credit cards, UPI, or other supported methods.
- Choose Normal or Tatkal fee option and confirm the amount before paying.
- Keep the fee receipt/transaction reference for your records and for PSK visit.
Step 6: Schedule and attend appointment
- After payment, schedule an appointment at your preferred PSK or POPSK based on slot availability.
- Arrive at the PSK with originals and copies of all required documents, fee receipt, and appointment printout or SMS.
- At the PSK you’ll complete document verification, photo capture, and biometric data (fingerprints and signature).
Step 7: Police verification
- Police verification may be required depending on your application type and background checks.
- A police officer will visit the address you provided; keep originals accessible and inform family members to cooperate.
- Some cases (e.g., government employees with recorded service verification) may follow a different verification route.
Advertisements
Step 8: Track application and get passport
- Use the “Track Application Status” feature on the Passport Seva portal with the file number or ARN (application receipt number).
- You’ll receive SMS and email updates for each major milestone: submission, police verification completion, printing, and dispatch.
- Once dispatched, the passport is delivered by speed post; tracking details are available on the portal.
Tips to avoid delays
- Ensure names, DOB, and addresses match exactly across all documents.
- Upload clear scanned copies and recent passport-size photo if required.
- Book appointments early (weekends and holiday seasons fill up fast).
- For urgent travel, check Tatkal eligibility and availability, and keep extra documents ready.
- If you move after submission, inform the Passport Seva portal and local police promptly to avoid verification problems.
Typical timelines and fees (what to expect)
- Normal processing: varies by office and police verification time (usually a few weeks).
- Tatkal: faster, subject to slot availability and higher fees.
- Fees depend on passport booklet size and service (normal vs Tatkal) — pay through the portal when prompted.
Example: checklist before PSK visit
- Appointment confirmation (print or SMS).
- Original documents and one set of photocopies.
- Fee receipt/transaction reference.
- Current passport (if re-issue).
- Two passport-size photographs (if portal requires physical photos).


")

