Free Fire has gained huge popularity in the past few years. Millions of people are now playing Free Fire, and everyone wants to improve their gameplay. The seeking to become a pro player tends to search for different gameplay settings. Read on till the end to know more about Free Fire Auto Headshot Settings.
In Free Fire, a Headshot is the killing ability through which you can knock out your opponent in just 4 to 5 shots. This guide will share an Auto Headshot setting through which you can enhance your Headshots ability.
Follow this guide carefully to know about the Best Auto Headshot Settings of 2024.
What is Auto Headshot in Free Fire?
Before knowing about the auto headshot settings, let’s first clarify what an auto headshot is.
The headshot is a skill through which you can shoot your opponent’s head, but it is not easy to take headshots in Free Fire because the opponent is continuously moving. Another way to make headshots a little easy is an auto headshot hack, in which you manually change the gameplay settings that improve your headshot skills.
Best Free Fire Headshot Settings in 2023: Must try these settings
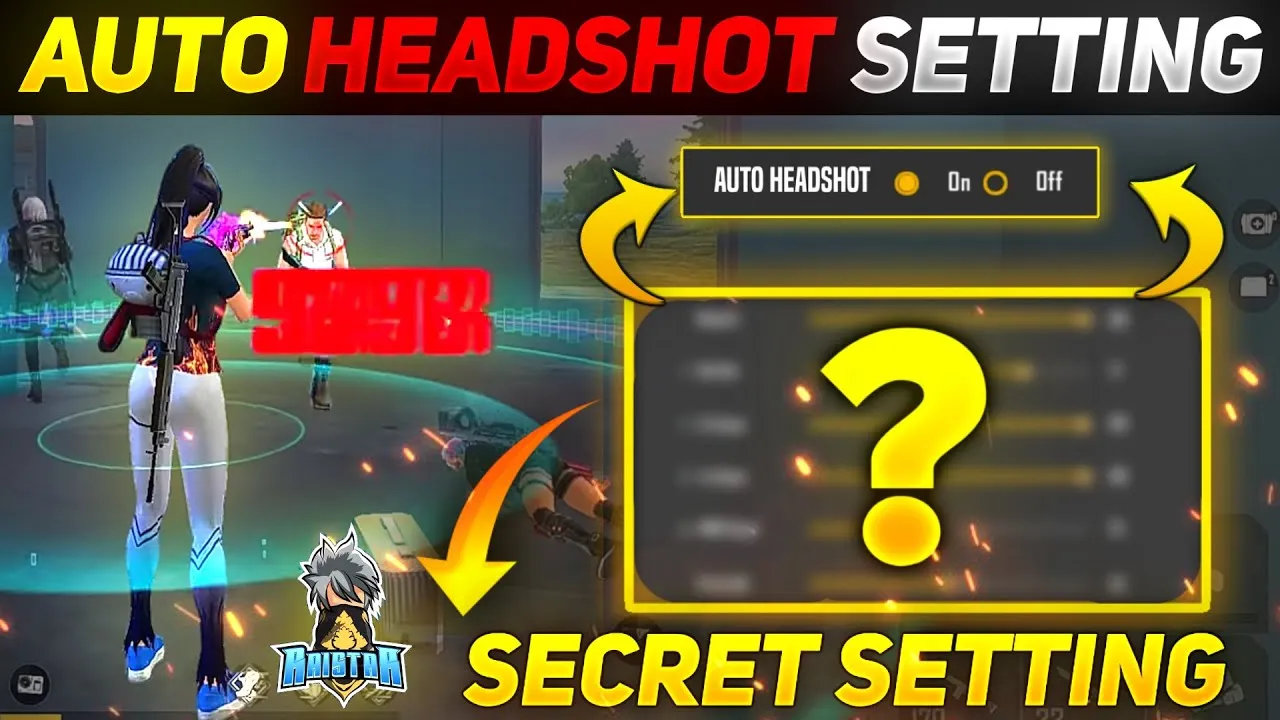
Best Free Fire Auto Headshot Settings
Finally, we are here to share with you some of the best Free Fire auto headshot settings through which you can straighten up your headshots. Follow the settings carefully and apply them in your gameplay.
- Launch the Free Fire application, and visit the settings in the game.
- Click on Graphics settings.
- Choose Graphics to Ultra.
- Now change the filter settings, click on filter, and select Bright.
- Moving ahead, set FPS to Normal.
- Save all the changes.
After applying all the settings carefully, you’ll see the change in graphics and picture quality which are now enhanced. The main motive behind changing the above settings is that most of the time, players can’t see the opponent’s head clearly because of low graphics and less picture quality, and that’s why they miss out on the headshot.
In such situations, the above settings will help you to target your opponent’s head, and these settings make little easy to take a headshot.
How to change Sensitivity Settings in Free Fire?
If you want to change the sensitivity settings in Free Fire, follow the steps.
1. Launch the Free Fire Game application and wait for the app to load.
2. Click on the settings icon on the screen’s upper right side.

3. Visit the Sensitivity settings by clicking on it.

4. Change the settings.

5. Save the changed settings and enjoy your game.
Best Sensitivity Settings in Free Fire
Coming on the best sensitivity settings for one tap headshots in Free for devices with 3 GB to 8 GB of RAM. Try out the below-listed settings.
- General: 91 to 95
- Red Dot: 63-72
- 2X Scope: 95
- 4X Scope: 95
- Sniper Scope: 15-20
- Free Look: 70-83
After applying the above settings, check that these settings are working properly on your device. If not, then try the below-listed ones.
- General: 100
- Red Dot: 78
- 2x Scope: 65 -70
- 4x Scope: 55
- AWM Scope: 68
- Free Look: 100
Related Post: Top 5 Headshot Accessories for Free Fire Player
Disclosure: This post contains amazon affiliate links. When you buy through links on our website we may earn an affiliate commission.


